Registering a new Endpoint
Register an endpoint to begin listening for Pay Advantage events. A maximum of 5 endpoints can be registered.
Web UI based registration
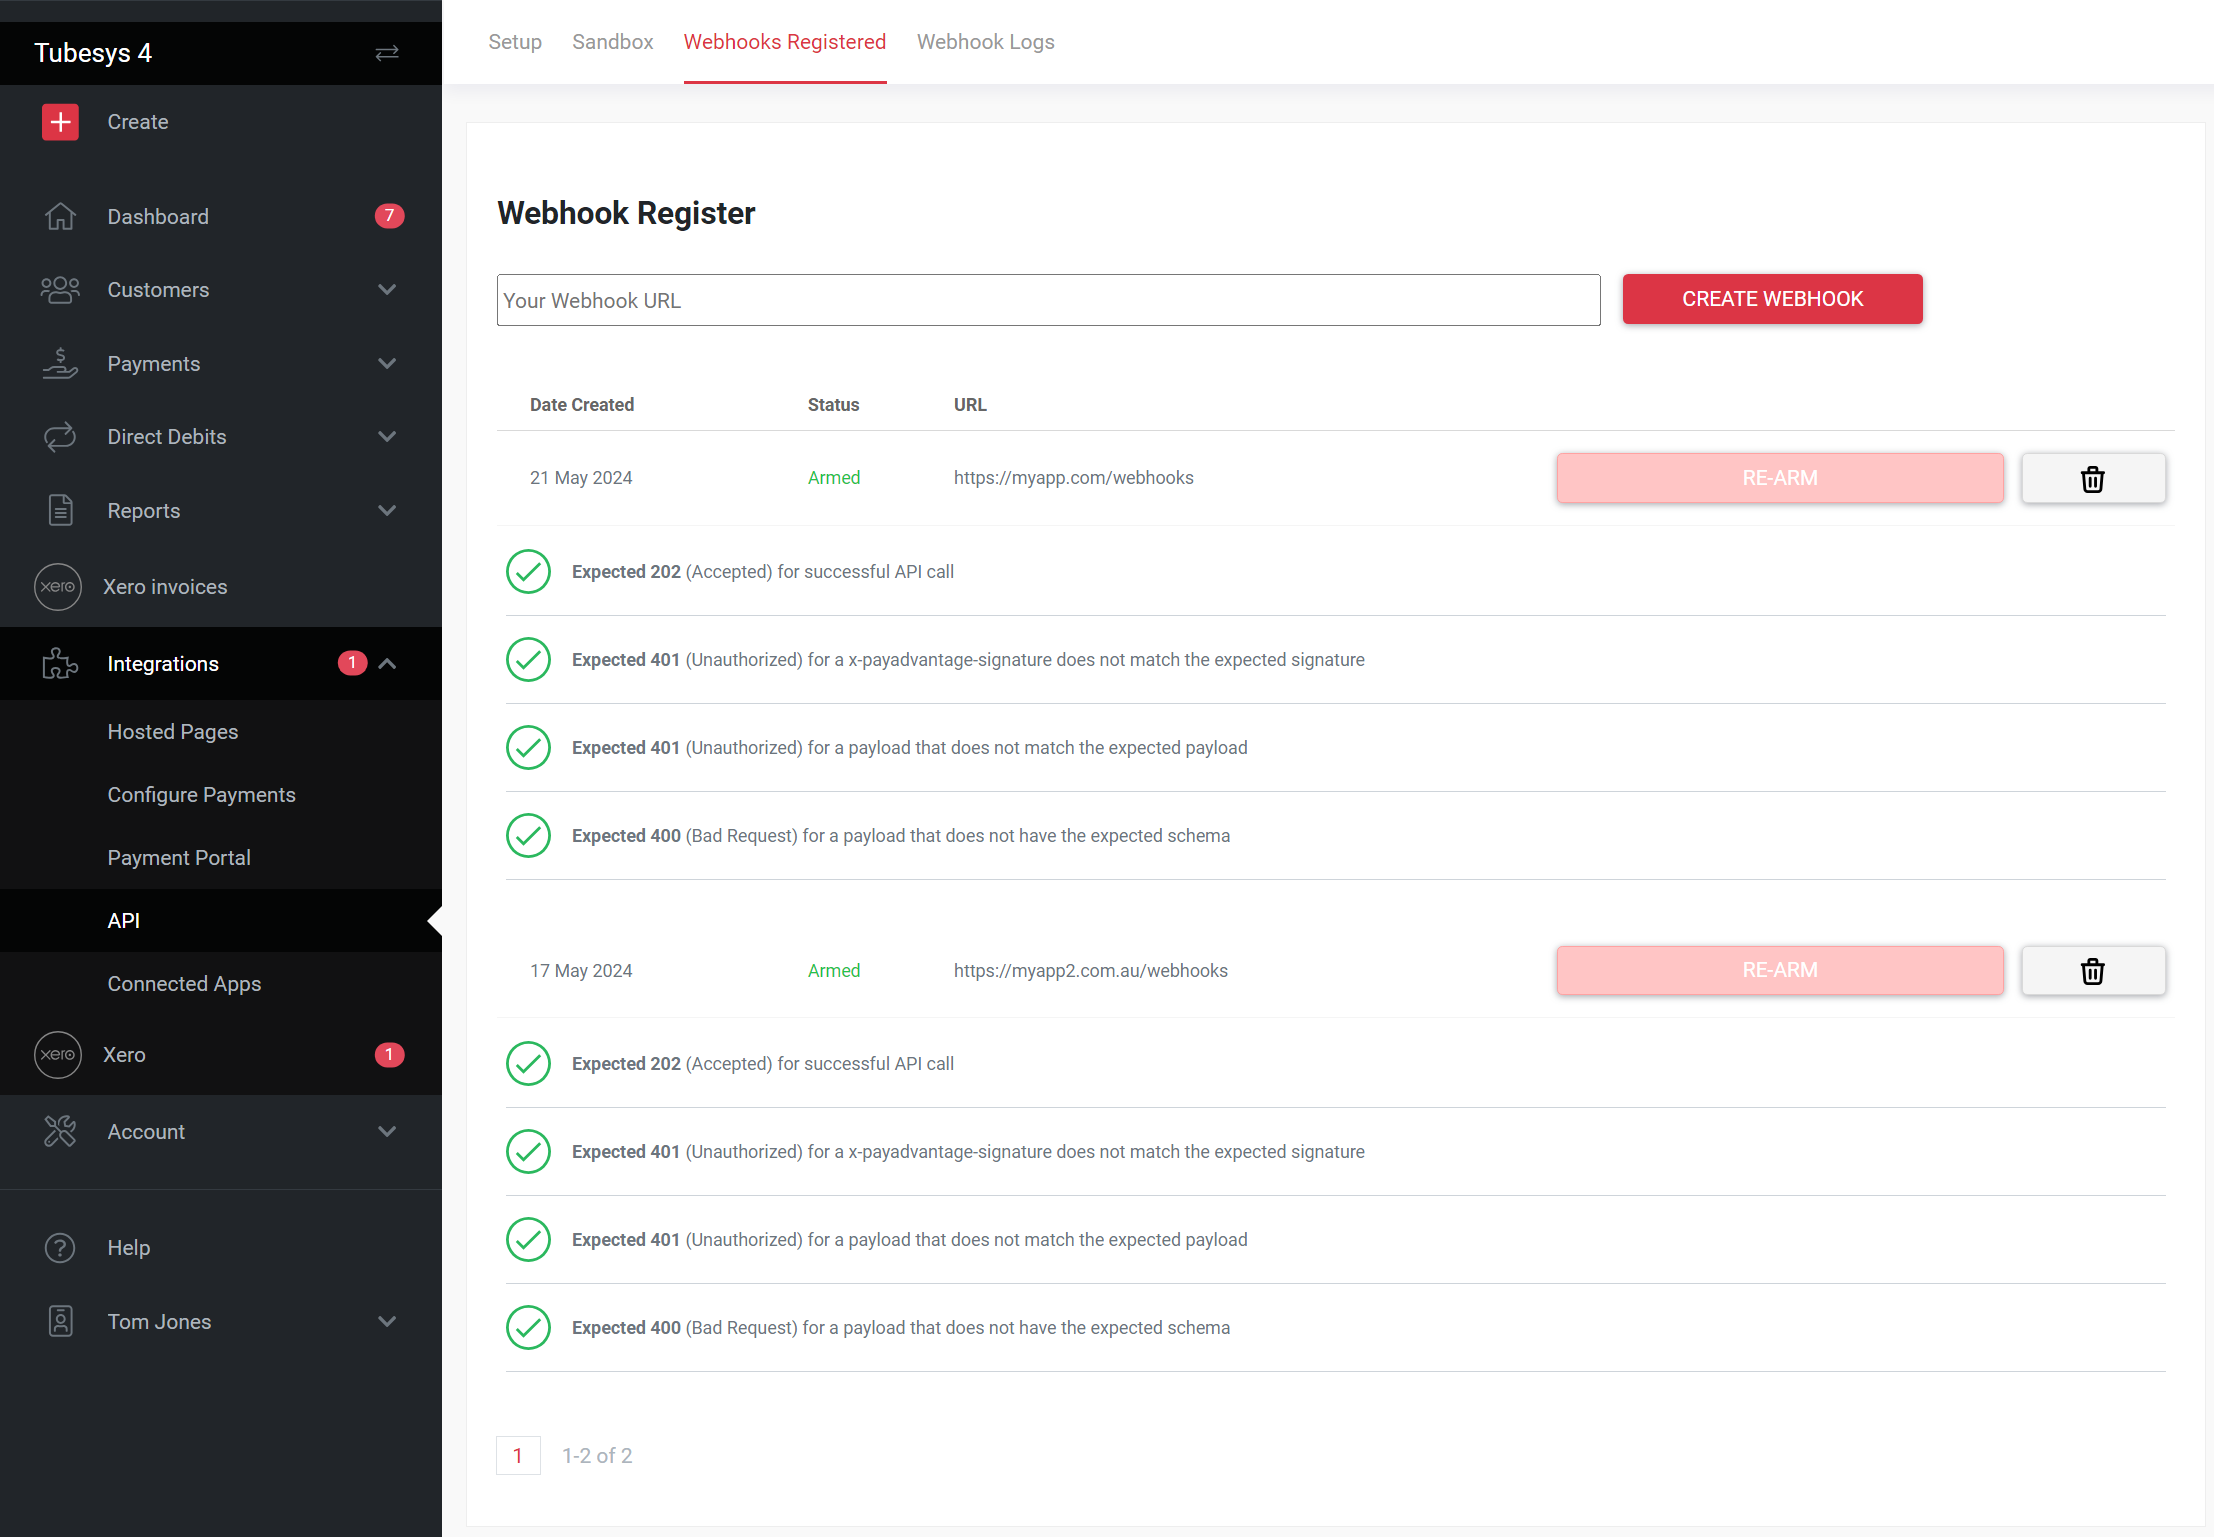
To set up a new webhook endpoint simply add the URL of the webhook into the API webhooks screen and click "Create webhook" button. This will register the arming process and provide a webhook secret. Since the webhook secret is not implemented yet, this initial registration will fail. Once the secret has been implemented on your backend to validate the webhook payloads, click the "Re-arm" button to start the arming process again.

Refer to the Arming an endpoint documentation for further information Arming webhook endpoint
API Based registration
Connect to the Pay Advantage API using your API credentials. The below example shows how to register a new endpoint to begin receiving webhooks to a specific endpoint hosted by you.
When registering an API endpoint, it will attempt to arm the endpoint. If you have not set up the arming process, it will fail and you will be required to call the same endpoint with the same details again to re-register. Refer to arming an endpoint for further details
Example
POST: https://api.payadvantage.com.au/v3/webhook_endpoints
{
  "Url":"https://yourdomain.com/payadvantage_webhooks",
  "Type":"push"
}
Response
{
  "Code":"ABC123",
  "Secret":"Important Key to keep safe",
  "Url":"https://yourdomain.com/payadvantage_webhooks",
  "DateCreated":"YYYY-MM-YYTHH:mm:ss+10:00",
  "MerchantCode":"PAABC123",
  "IsArmed":false,
  "Errors":null,
  "Type":"push"
}
Attribute definitions
| Attribute | Description |
|---|---|
| Code | is the unique identifier for the endpoint. |
| Secret | is generated from Pay Advantage and used to hash and sign Webhook requests. You should keep this very safe and assign it to your Endpoint. |
| Url | is the domain and route to your endpoint. We recommend creating a separate endpoint for Pay Advantage Webhooks to clearly distinguish between Webhooks from other sources. We also recommend only using https for secure transmission of your data. If you do choose to use a pull type, then your Url can be any meaningful name (e.g. “batch processing”). This is important to help you manage your endpoints later. |
| MerchantCode | is useful if you have multiple Pay Advantage accounts that send Webhooks to the same Endpoint. |
| IsArmed | indicates if the Endpoint has been armed (see Arming an endpoint) it is ready to accept requests. |
| Errors | is a flat string with the errors received from your endpoint when attempted. If multiple errors occur then these are concatenated in descending order (most recent first). |
| Type | is either push or pull. See Webhooks for more information on these two types. Most users will select push. |
To return the status of your endpoints and determine which ones are armed or not. Use the GET API call.
GET: https://api.payadvantage.com.au/v3/webhook_endpoints Response
{
    "Records": [
        {
            "Code": "ABC123",
            "MerchantCode": "PA12345",
            "DateCreated": "2023-10-30T09:57:34.337+11:00",
            "Url": "https://yourdomain.com/payadvantage_webhooks",
            "Secret": "Important Key to keep safe",
            "IsArmed": false,
            "Errors": null,
            "Type": "push"
        }
    ],
    "Meta": {
        "page": 0,
        "recs_per_page": 32767,
        "total_recs": 1
    }
}
Updated 5 months ago